Creating Custom Fonts: A Step-by-Step Guide

If you’re a graphic designer, chances are you’ve had the urge to create your own custom font. Whether it’s for a logo, website, or another creative project, designing your own font can be an incredibly rewarding experience. However, the process of creating a custom font can seem daunting at first. Fortunately, with some dedicated practice and the right tools, anyone can learn how to create their own unique fonts.
Finding the Right Fonts
The first step in creating a custom font is deciding which fonts will best represent your business. This doesn’t mean just selecting a font, it means selecting several fonts that work together to create a cohesive style. Think about the look and feel of your company are there certain colors or shapes associated with your brand? These elements should be taken into account when choosing fonts. It’s also important to keep in mind the message you want to convey with your font selection for instance if you want to emphasize modernity, a clean sans serif font might be more suitable than an ornate serif font.
Choose Your Software
The second step in creating a custom font is to decide which software you’re going to use. There are several popular options available for both Mac and PC users. Some of the most popular programs include FontLab Studio (Mac/PC), Glyphs (Mac only), and FontCreator (PC only). Each program offers its own unique set of features, so it’s important that you research which one best meets your individual needs.
Sketch Out Your Design
Once you’ve chosen your software, it’s time to begin sketching out your design. Start by drawing each letter individually on paper or using computer software like Adobe Illustrator or Affinity Designer. Pay special attention to details like line weight, serifs, spacing between letters and words, as well as any other elements that will make up your design. Once you have all of the letters drawn out in rough form, scan them into your computer for digital editing in your chosen software program.
Import & Vectorize Your Design
Now that you have all of your sketches scanned into digital form, it’s time to import them into your software program and vectorize them. Vectors are mathematical shapes that allow designers to scale images without losing resolution quality this is essential when creating fonts. Most software programs will offer tools allowing you to easily vectorize each letter with just a few clicks. If not included in the program itself, there are several third-party plugins available that will help automate this process even further.
Finalize & Export
Finalize & Export Your Font Design After vectorizing each letter in your design, it’s time to finalize everything before exporting it as an actual font file. This includes tweaking things like the space between each character and adjusting any last-minute details such as line weights or serifs before exporting it as an OpenType (.otf) file format that can be used across both Mac and PC platforms.
Testing Your Fonts
Before committing to one final version of your font, test it out on different platforms like print media, websites/apps, social media posts, etc., If necessary adjust any strange qualities in consistency between platforms so that your font looks perfect no matter where it’s used. After making any necessary changes refine it one last time then save it in TTF/OTF format for use across all platforms. You now have created custom fonts for your business.
Conclusion
Creating custom fonts may seem daunting at first but if done right can provide a unique edge over competitors while adding an element of professionalism and creativity to any website or marketing materials. With some research, patience, and attention to detail, anyone can create their own distinct typeface. If done properly this will help establish recognition among customers while giving them an experience they won’t forget. Although complex creating custom typefaces can give businesses a real competitive advantage online so don’t hesitate to get started today.
Free Fonts:
 The Psychology Of Font Choice In Branding
 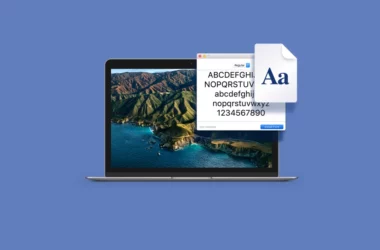 How To Install And Manage Fonts On Your Computer
 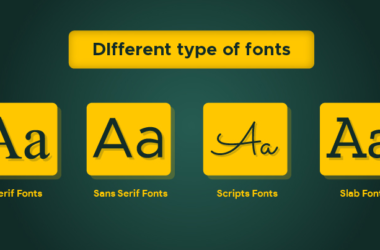 The Difference Between Serif And Sans-serif Fonts
 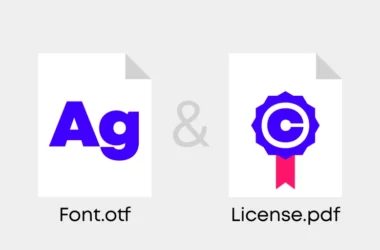 The Role of Font Licensing In The Design Industry
  Tips For Optimizing Print Fonts For Clarity And Readability
  Marvel Font
  Led Zeppelin Font
  Louis Vuitton Font